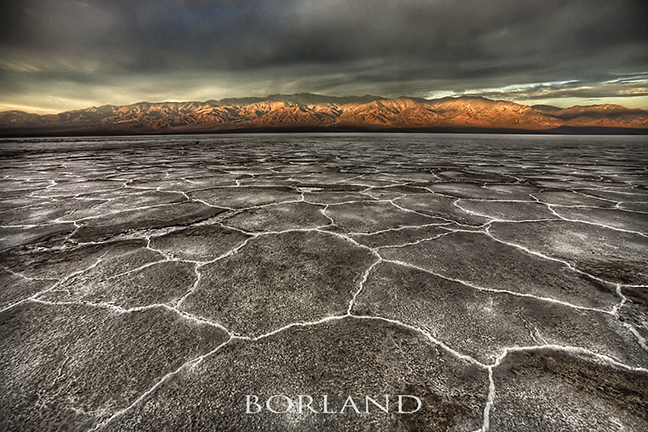
I have told myself more than once that I am burned out on Grungy looking HDR and dont want to look at it let alone create it. But that appears to never be true since I continue to create a few HDR images from time to time. This is Death Valley at sunrise and it made for a great HDR and it is not to grungy, at least by my definition of grungy. Which is hyper color and lotsa noise and halos on the edges.

Fortunately for those of us using HDR software, you can create images that look perfectly normal and even push them a little without hyper color and noise and halos. That was my goal here. Add substantial drama. The ground here is not dark like this but rather very light salt pan. The clouds weren’t that dark either, but HDR is famous for making them look threatening.

So carefully moving the settings added a lot of drama here while avoiding over-done color and noise and other HDR issues that can arise. It is almost like a negative effect, and I am happy with it.

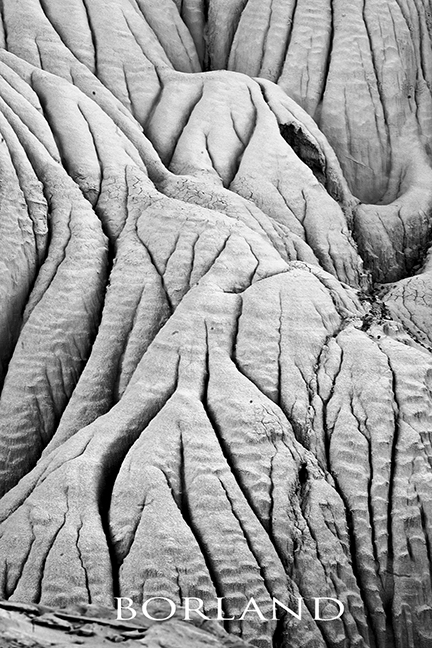
This is one of the most amazing places I have ever shot! It’s part of Grand Staircase-Escalante NM, Utah.

The soft light is very flat lighting: no whites and no blacks, just light grays and dark grays, so you have to create the black and white. But do you need them?

Honestly, I struggled to find my ‘look.’ The original file has a blue cast from the blue sky above, so I worked that a bit: added blue/took away blue, saturated, added contrast, then took it all away. Today, I decided to do B&W and high contrast. Tomorrow, who knows. 

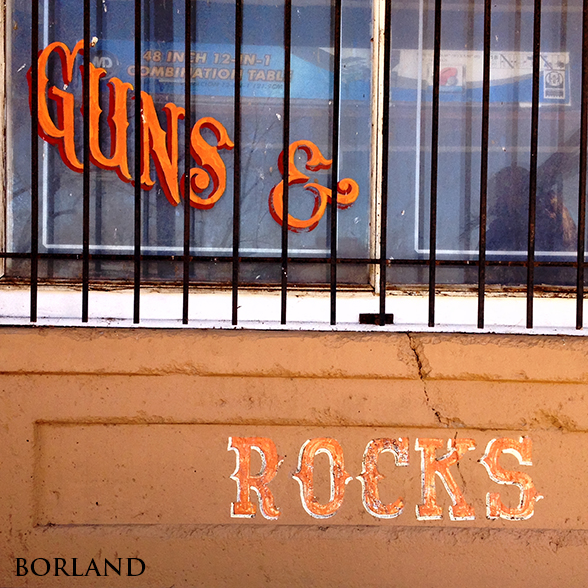
I love Happy Snappin’! When I am not seriously shooting (full pack of gear) I am obsessed with Happy Snappin’ with my iPhone.

This one from old store and looks like they sold a variety of weapons. You could choose an ancient weapon or a modern weapon. From Cerrillos New Mexico, which is almost a ghost town.

It has some cool old buildings and while Happy Snappin this old building I noticed this picture which I captured on the iPhone.

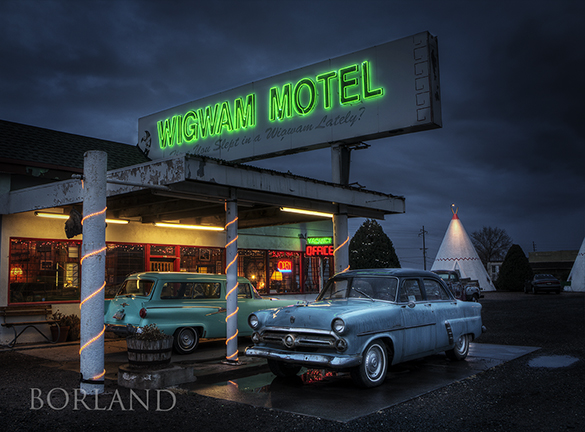
Oh this was so fun! Drove through Holbrook AZ on our way to New Mexico. Stopped in Holbrook to shoot Petrified Forest and when driving through town we saw the Wigwam Motel. OMG–gotta shoot!

Came back at dusk and it started pouring down rain. Perfect! LOL. I did get pretty wet but who cares? I did a non-grungy HDR, then accentuated lighter areas by painting highlights in Photoshop, added a vignette, and a little more burning and dodging for effect. A teeny weeny bit sharpening. And I am done…for today that is.

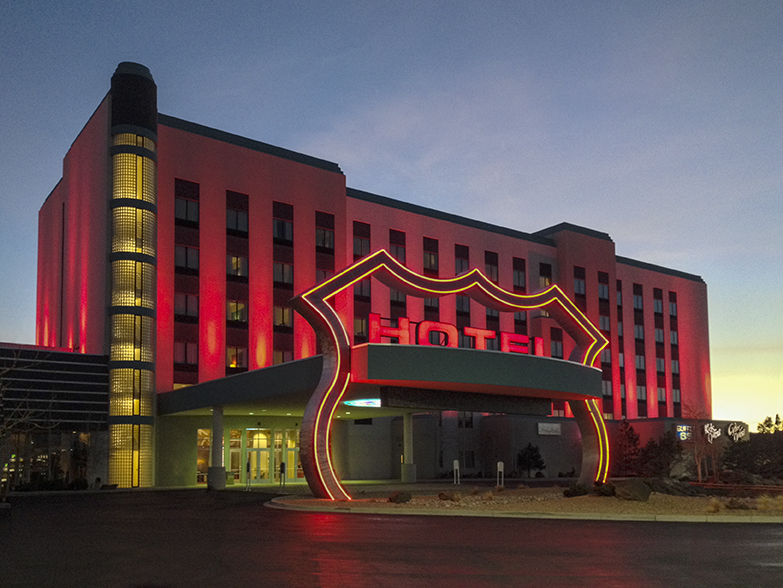
I was on Route 66 last week when I stopped at the casino outside Albuquerque and captured this with my iPhone. The file did not have the dynamic range as a RAW file so I had to do some work on it and also remove a section of car on the right that was parked there and clean the cracks and such on the pavement.

Take my class on Architecture and Real Estate Photography here.

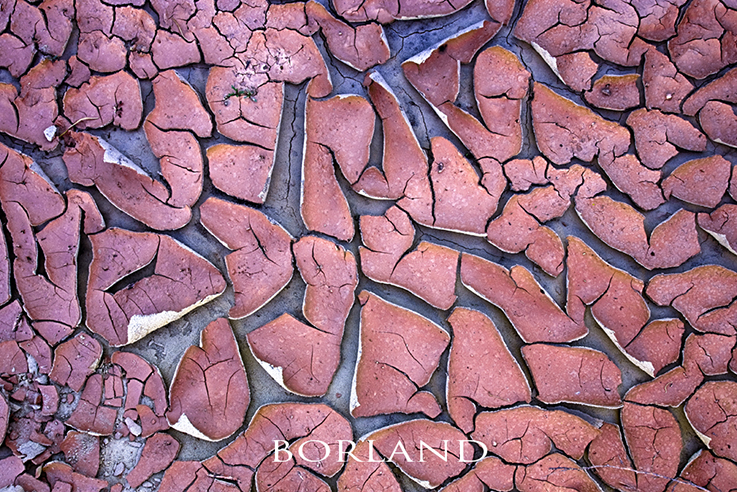
I love to photograph Cracked Mud like this. I might even be obsessed! The patterns and textures and details are very fascinating and I think it makes great subjects for the camera. I even wrote an article once for Pro Nature Photographer on The Art of Photographing Mud.

There is so much of it around in the outdoors where it was wet and is now dry. I am not a cracked mud expert, but I have noticed as I shoot these details that the mud dries differently and cracks differently, so there is something in the geological makeup of each sediment that I guess contributes to how it dries. Any mud experts out there? 🙂

Having spent most of the winter wandering around the deserts of the USA Southwest, I have shot a lot drying mud and its cracks. This image was from a slot canyon in Utah. What makes this cracked mud different is the layer is thin so it curled up. And…this was cool for the photo: the topside was Red, from the red sandstone I am sure, and the underside was white’ish. 

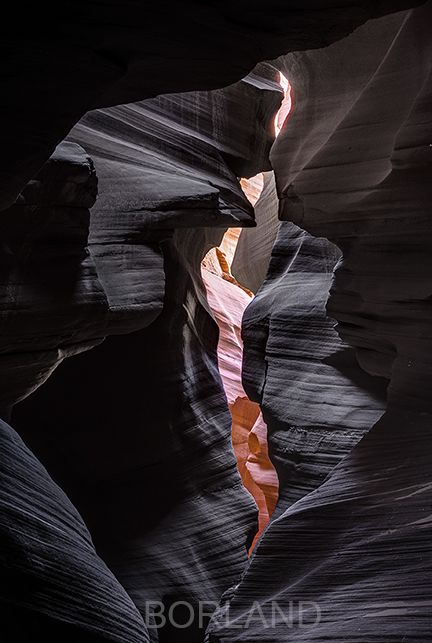
This was an amazing location: Canyon X in Arizona. This location is on provate property and requires a giude and a group of us hired one.

I think this slot canyon is deeper than Antelope Canyon, but I am not sure. It seemed much darker and that could be due to different geological formations, but again, I am not sure.

It was tough to process and it went very blue at the bottom and warm at the top, so I added a B&W adjustment layer and dialed some color out and painted back in the warm colored slit.