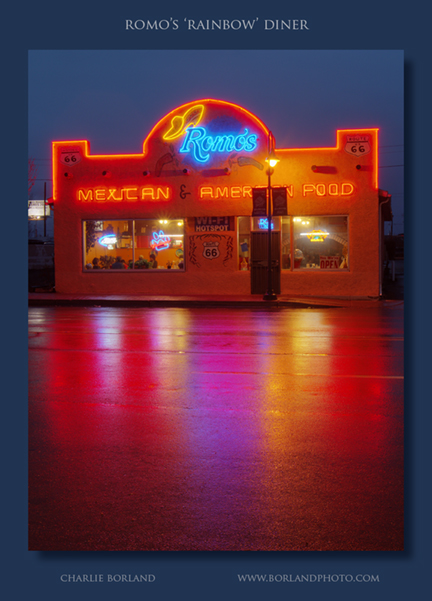
This is Romos Mexican Restaurant in Holbrook AZ on a chilly rainy night. I titled it Rainbow due to the obvious rainbow of color but that is not an official name. The rain ‘makes’ this image so colorful with the color reflections. I processed this with HDR software first and lightly to avoid the Grunge look and then blended back some parts with the original file. Shot with a 70D and 24-70 lens.
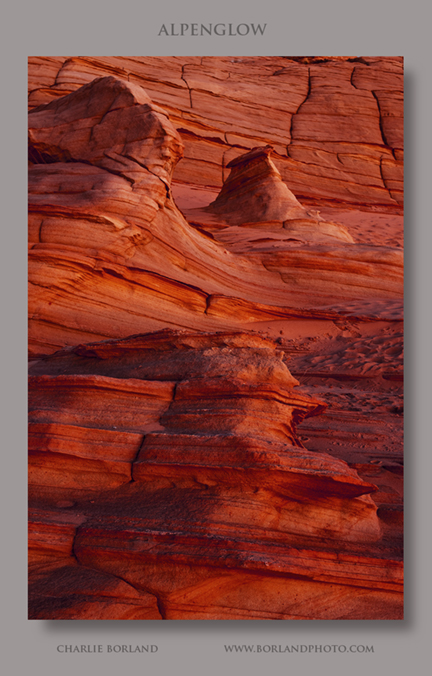
Alpenglow? I have always wondered if alpenglow only happened in the mountains but according to Wikipedia the answer is NO. This was 20 minutes after sunset, the perfect time for alpenglow, and it added a warm ‘purply’ reddish tint to the files which were shot at daylight WB. Processing becomes a challenge in trying to replicate the true color as experienced but then does it matter? Probably more important than processing it perfectly, is avoiding processing it imperfectly where it looks overly processed. Canon 5D, 28-70mm @ 50mm.
Join my mail list! The opt-in box is to the right side bar.
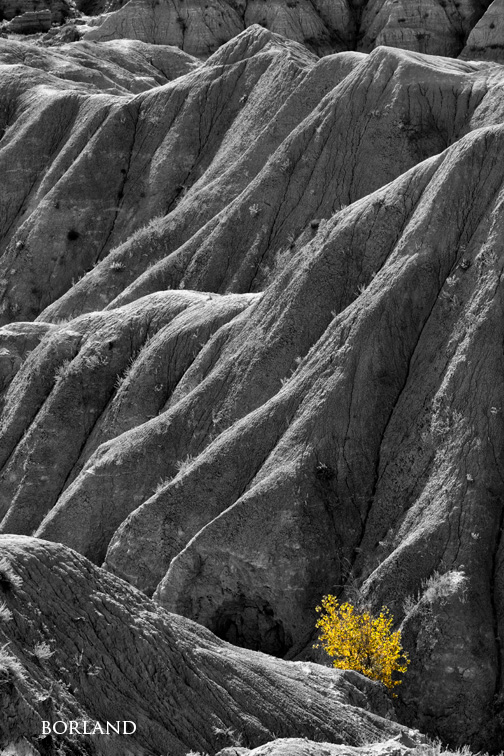
I was teaching at the Black Hills Photo Shootout a few years ago and had half a day to kill so I went on a marathon shooting visit to Badlands NP. I have been there many times and like many places you visit over the years, returning can be like you have never been there before with fresh eyes and new perspectives.
The light was not that great when I got there but I shot anyway and it was fall, so there was a tiny bit of color. I like the idea of B&W with some color remaining because it really emphasizes the color when you do this and directs the eye where you want it to go.
Here’s the Photoshop screen showing the B&W and a mask to brush back the color area which keeps the bush in its original color. I also added contrast with a Curves adjustment and also used High Pass Filter.
Nothing better than the SW and New Mexico in particular for amazingly cool and colorful doors and windows. Okay I now France and Europe and Mexico has them as well but I aint been there. This is near Albuquerque and while the wall is newer the door is very old and it just popped out as I was driving by and of course, I had to stop. I had no camera with me except my iPhone which still amazes me as to what I can capture with it especially when I gotta get the shot and dont have my Canon’s.
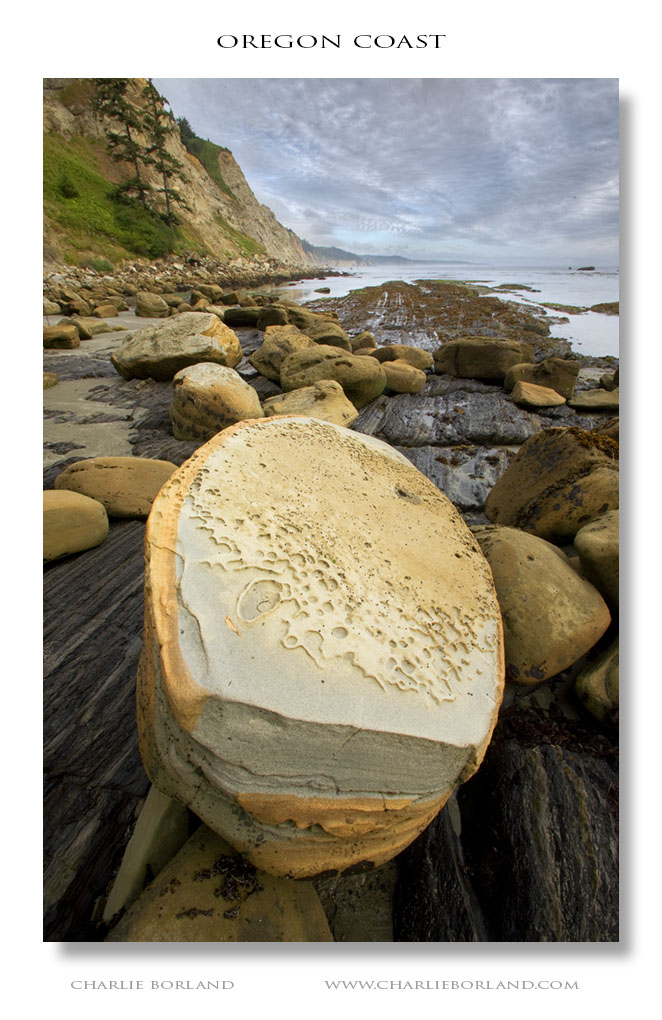
This is from the Oregon Coast and while I had been here a long time ago I had not seen this huge rocks that was split in half. Perfect subject for a near/far approach filling the foreground with the rock using my 16- 35 mm lens. The only processing was darkening the sky a little and a bit of saturation and sharpening.
Get my book here:
I photographed this image at Red Rock Conservation Area, North of Las Vegas, about 6 weeks ago. I was zipping down the road from Mt. Charleston when I spotted the cactus starting to bloom. I guessed that I was about 1 week to early for full bloom, but I was not going to be here in a week, so I shot anyway.
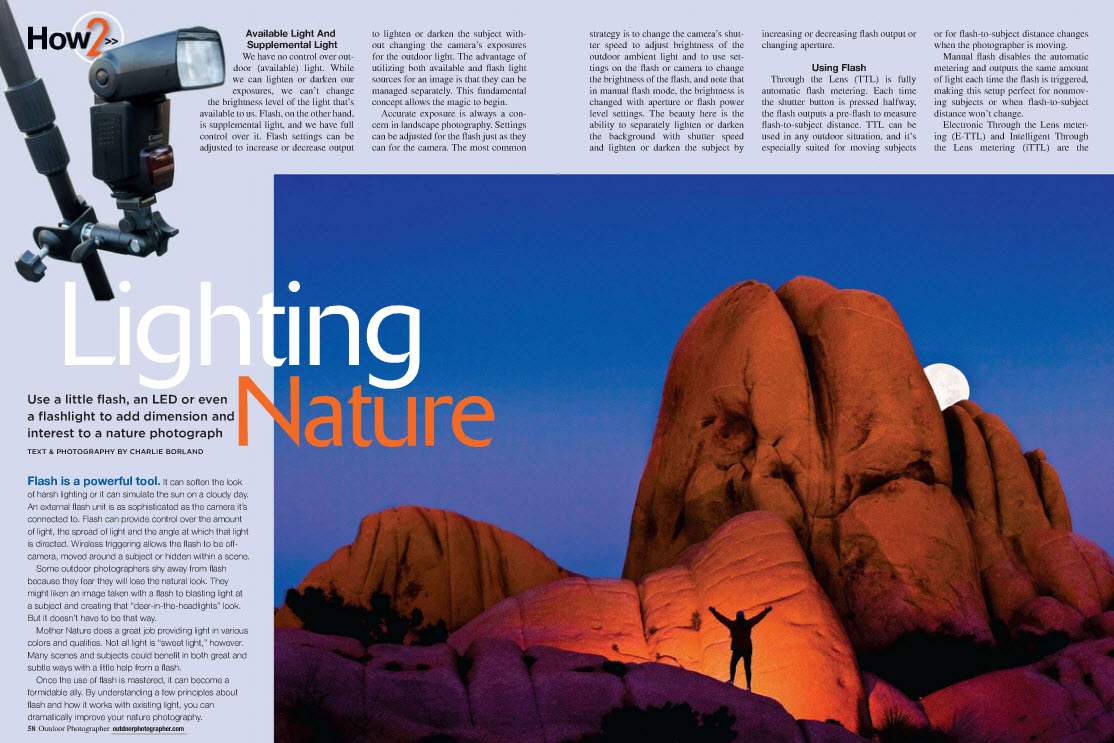
I used a flash to fill in the shadows on the cactus and that worked great. But since it was 4 pm the light was not that great yet, so when I opened the image in Photoshop it looked like a basic snap. That’s where the fun begins. You get started and you never know where you are going in creating. Are these images ever DONE? No, they are abandoned when you are happy with the results.
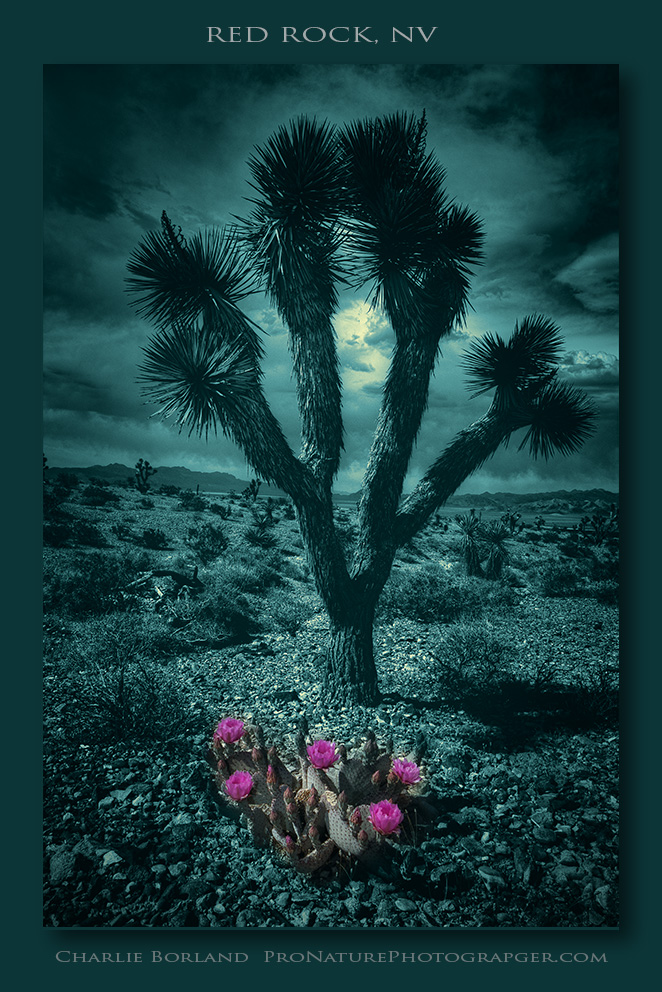 I always bracket exposures so the first thing I did was HDR process it with the only intention to add drama to the clouds. Then I opened Topaz B&W Effects and used the Cerulean set to colorize the image. Once I got here I decided I had what I wanted and subsequently ‘abandoned’ this image to go start the process all over another. If you want to know about Topaz, here’s the link: http://www.topazlabs.com/aff/idevaffiliate.php?id=196
Get my book on Outdoor Flash Photography below…..
Here is another interview I just did with John Colley of the Online Learning Podcast.
058 – Photography – Charlie Borland, Lighting Master on Mastering Photography: Libsyn Player
html5-player.libsyn.com
You can see more of John’s podcasts here.
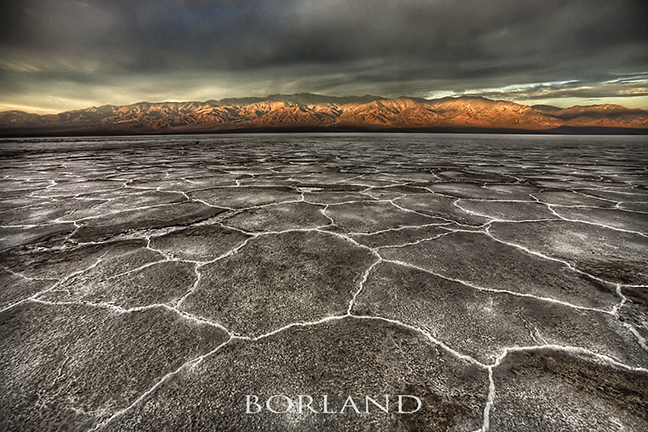
I have told myself more than once that I am burned out on Grungy looking HDR and dont want to look at it let alone create it. But that appears to never be true since I continue to create a few HDR images from time to time. This is Death Valley at sunrise and it made for a great HDR and it is not to grungy, at least by my definition of grungy. Which is hyper color and lotsa noise and halos on the edges.
Fortunately for those of us using HDR software, you can create images that look perfectly normal and even push them a little without hyper color and noise and halos. That was my goal here. Add substantial drama. The ground here is not dark like this but rather very light salt pan. The clouds weren’t that dark either, but HDR is famous for making them look threatening.
So carefully moving the settings added a lot of drama here while avoiding over-done color and noise and other HDR issues that can arise. It is almost like a negative effect, and I am happy with it.
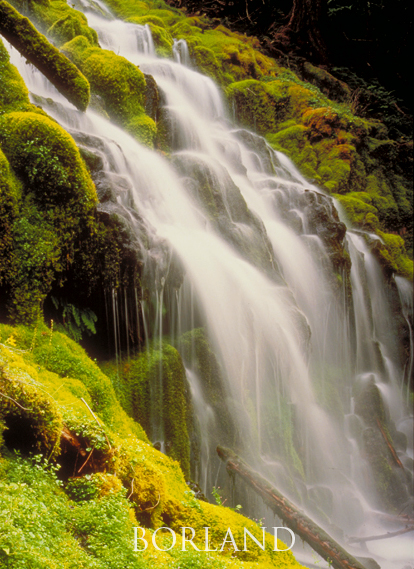
This is one of my favorite waterfalls. Maybe my favorite period!
Proxy Falls in Oregon is a luscious cascade of mist and moss on a steep hillside.
I first shot here around 25 years ago and few photographers had heard of it. There was a small dirt pull off on the winding mountain hwy. Now a paved parking pull offs, bathrooms, and PAY TO PARK.
Another version of this falls, shot from the other side, is one of my best selling stock photos ever, when you could make money doing this! Well worth the short hike in there.
Canon 5D and 16 – 35mm lens.

