Review of The Ultimate Landscape Photography Masterclass by Ian Plant
By Charlie Borland
Photowhoa is an outstanding team of creatives who consistently deliver high-quality educational products for photographers. I’ve worked with them for years—both as a customer, purchasing courses to sharpen my own skills, and as a course creator, promoting my own educational content through their platform.
So, I was thrilled when they asked me to review The Ultimate Landscape Photography Masterclass by Ian Plant. Ian and I have crossed paths a few times over the years, and I’ve always admired his photography. Getting the chance to dive into his course, study his remarkable images, and hear him discuss how he documents the natural world was a no-brainer for me.
Having started in landscape photography back in the mid-1970s—and working professionally full-time since 1981—I’ve spent four decades capturing the beauty of landscapes across the U.S., alongside a career in commercial photography. So I approached this course with both curiosity and a critical eye.
Course Overview
Instructor: Ian Plant is a seasoned professional with a strong body of work and an impressive publishing history, including features in Outdoor Photographer, Popular Photography, and Landscape Photography magazines. He’s inspired thousands through his books, workshops, and online courses—and his experience clearly shines through in this masterclass.

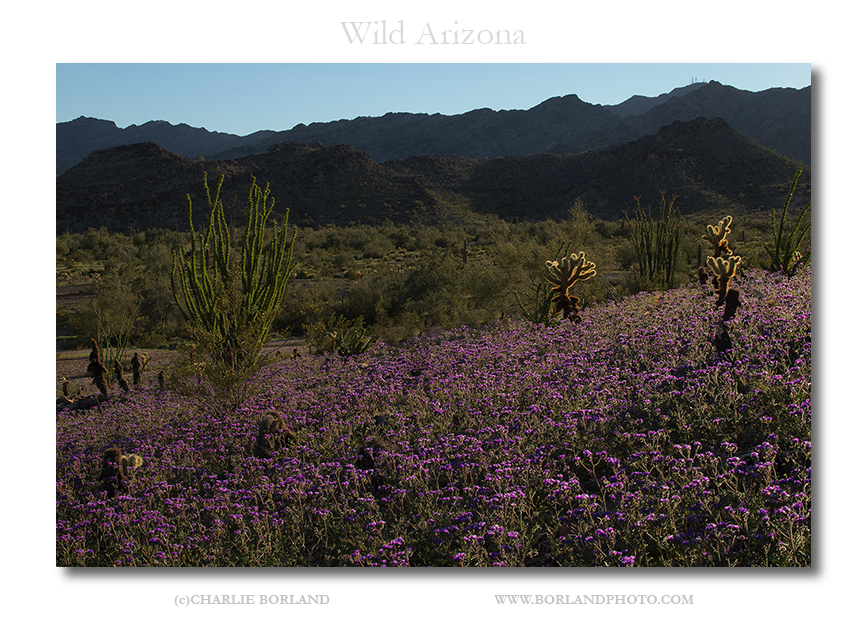
Running just over an hour and a half, this course is dense with knowledge yet easy to follow. Ian focuses on key techniques such as the near-far composition approach—a favorite of mine and many other landscape photographers. This technique involves placing an eye-catching element prominently in the foreground and aligning it with a compelling background. It’s a strategy that grabs viewers instantly—I often call it the “in-your-face” method because of its immersive, dynamic impact.
Teaching Style
Ian’s teaching is relaxed, articulate, and engaging. His easy-going presentation style ensures no one gets left behind. He takes the time to walk through the what, where, when, and why of his images, helping viewers understand not just the how, but the purpose behind each composition.

He spends considerable time explaining the power of wide-angle lenses, especially in relation to the near-far technique. His breakdowns help viewers grasp how focal length and framing choices shape the emotional and visual strength of a landscape photograph.
Throughout the course, Ian emphasizes building photographs rather than just taking them—a philosophy I’ve long shared with my students. He calls it “Taking vs. Making,” and his examples make a compelling case for thoughtful, intentional photography.
Content and Technical Detail
Ian covers everything from gear to technique with clarity and purpose. He gives specific lens recommendations for both wide-angle and telephoto approaches to landscape photography. For those seeking tack-sharp images from foreground to background, he discusses small aperture use, tripod stability, and techniques for achieving deep focus—essential when pushing your depth of field to its limits.
Light and weather play starring roles in this course as well. Ian illustrates how waiting for the right moment, understanding cloud dynamics, and capturing the interplay of light and shadow can dramatically elevate your compositions.
He also provides valuable comparisons between different lighting conditions: midday sun, golden hour, overcast skies, and even rainy or low-light scenes. His advice on using mobile apps to predict lighting angles and timing adds a practical layer to planning your shoots.
As the course progresses, Ian dives deeper into nuanced topics such as:
- How to read and shape light for maximum drama
- Exposure tips that go beyond technical correctness to image optimization
- Hyperfocal distance and depth of field mastery
- Proper horizon placement and camera height for perspective control
- Compositional elements like leading lines, curves, diagonals, and natural frames
He builds these concepts through excellent image examples, breaking down the visual language of a photograph so viewers can better see, think, and compose with intent.
Video Quality and User Experience
The production quality is excellent. The visuals are sharp, the audio is crystal clear, and navigation on the course site is smooth. You can watch, rewatch, and skip to specific sections without any hassle. It’s a seamless user experience.
Who Is This For?
This course is ideal for both beginners and more experienced photographers. New photographers will gain essential foundational knowledge, while advanced shooters will appreciate the thoughtful insights and refined techniques Ian shares throughout the lessons.
What makes this course truly stand out is Ian himself—his voice, his vision, and his thorough explanation of why each image works. While some of the concepts may be familiar to experienced landscape photographers, Ian’s approach and delivery make them feel fresh and personal.
Final Thoughts: Is It Worth It?
Absolutely. The Ultimate Landscape Photography Masterclass delivers real value. If you’re looking to better understand the entire process—from visualizing a shot to capturing and refining it—this course covers it. Beginners will come away with a solid framework, and seasoned photographers will find both inspiration and new ways of thinking about their craft.

Ian not only shows you how to photograph landscapes—he shows you how to build them, layer by layer, decision by decision. And that’s what makes this course a standout.
Find this course right here.
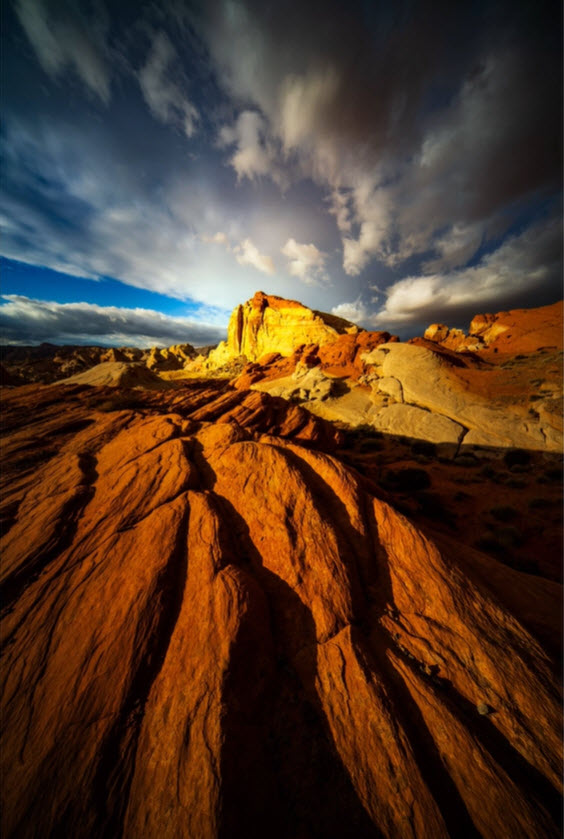
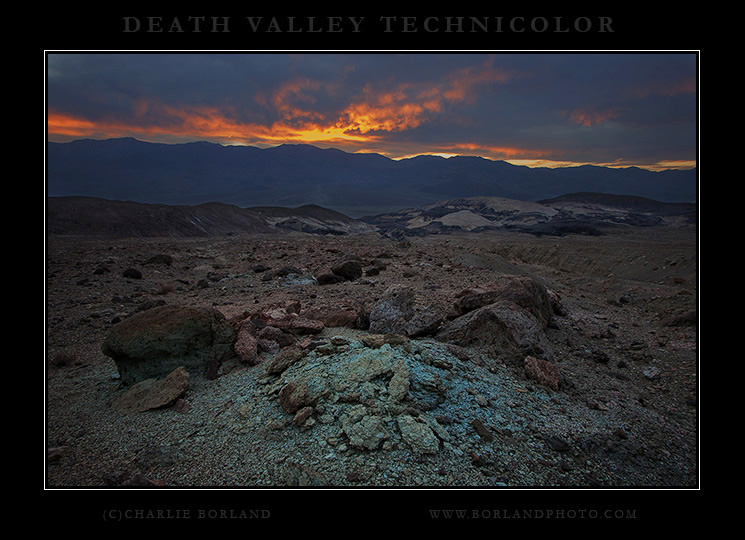 When the sun was setting (before the color show) I started back when I stumbled on this scene of turquoise colored sediment. I have no idea what it was (I am not a geologist) but I knew it would make for a great foreground.