VEGAS BABY!

It is not hard to find amazing ‘light’ to photograph in Vegas. Actually, there is better man made light than sweet natural light as far as the strip is concerned. Everywhere you go: neon is so photogenic. Even in the casinos, like here at the Zarkana show (which is great) there is shape and form to capture with an iPhone. I opened this in PS and used the lens correction tool to straighten the verticals.

nv_vegas_IMG_2577a

A couple of nights ago I was out filming and photographing in Arizona’s Kofa Mountain area. I was actually filming for a new introduction video I was making for a new place I am going to be teaching and mentoring photographers. 

My focus was on the video clips, but when the light became golden right before sunset, I had to stop filming and start photographing and this is the result. There was no adjustment to the raw file as far as color at all. This ‘sweet light’ was all natural. I only added a hint of contrast, like I almost always have to do, and a bit of sharpening. Mostly a straight shot. 

az_kofa_nwr_MG_5952

I have thing for photographing through windows of old west ghost towns and taking pictures through the old glass. I get my lens as close as I can to the glass without risking damage, then shade the lens as best I can to remove external reflections , and bracket exposures like crazy.

Here is the barbershop in Randsburg, CA shot a few weeks ago. You can see some of the outside reflections around the left side and that is due to my hands not blocking all the glare. I shot a two image pano: left and right side as vertical images, then let Photoshop stitch them. Next I went into Photomatix and gave it a medium HDR grunge look. Then opened in Topaz B&W Effects and used the filter: Flavescent which added the yellowed newspaper look I wanted. I finished with another layer using the Blueprint effect and set that to 30% opacity to add a dark edginess.

ca_randsburg_MG_6394-7_pano_tonemapped-

When I like what I created, I abandon it for the next image. 

Join my mail list, get my ebook, or see my online photo courses, all here on this page.


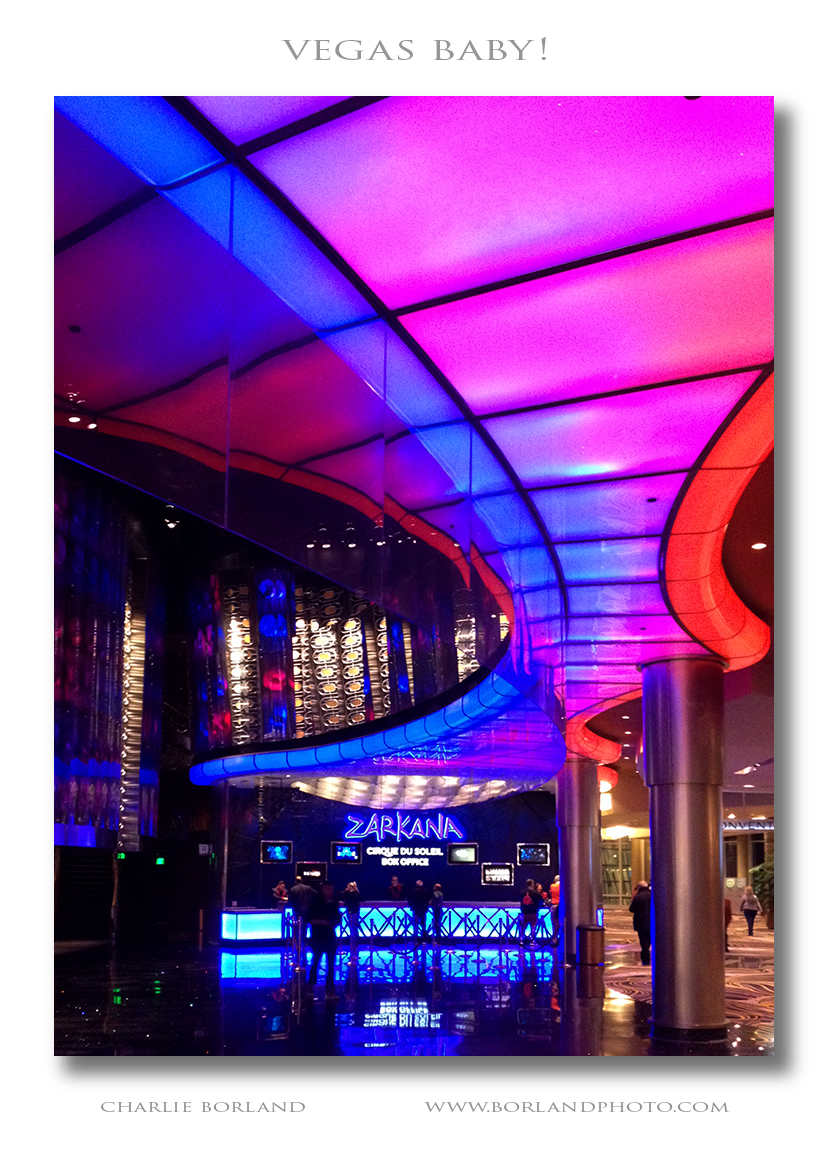
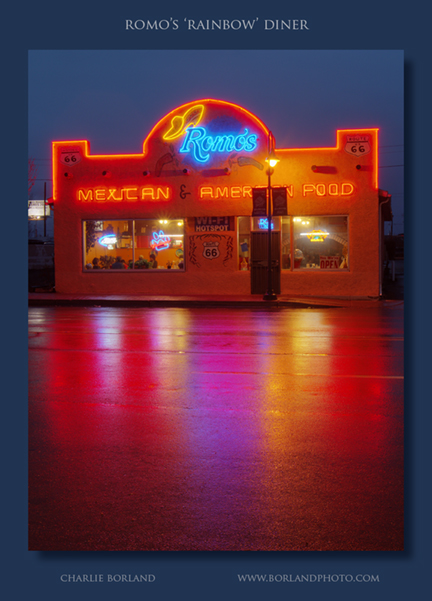
As I pass through Las Vegas on my way to Arizona for the warm winter months, I cant help but stop in Vegas and do a little shooting. This image is from the Fremont Street area, which has been totally revitalized since my first visit to Las Vegas in 1985. 

One of the cool things they have been doing here is preserving the old neon signs from hotels and motels that are no longer standing. So right outside the Fremont Experience areas are these awesome old signs and symbols. 

nv_vegas_fremont_st_MG_4968

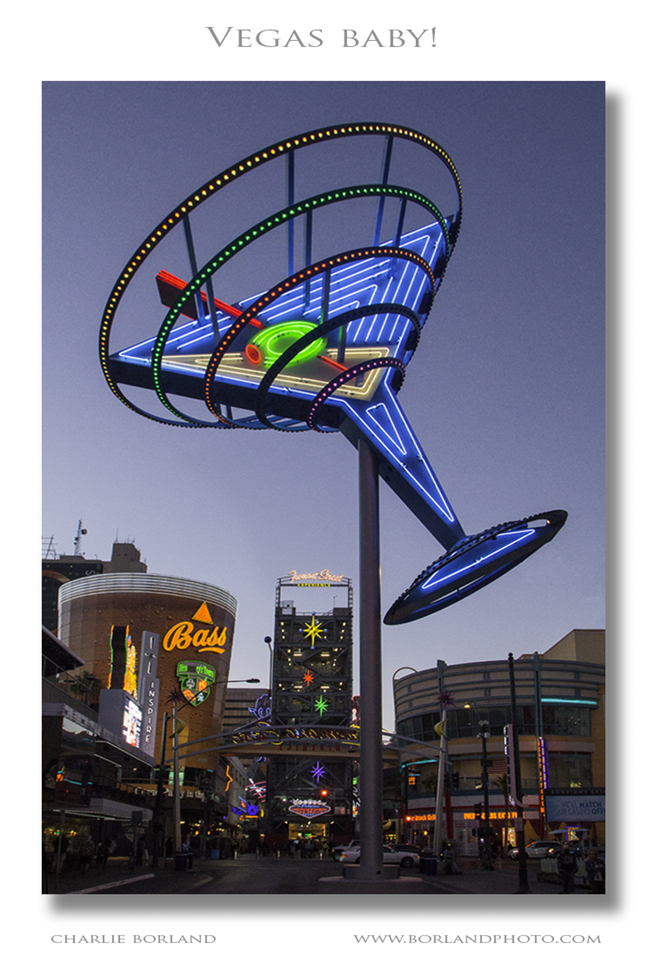
So I shot the old sign, hand held by the way, and opened in ACR where I added a little contrast, lightened shadows, tiny bit of Clarity, Vibrance, and Saturation. Then I opened in Photoshop and added several luminosity masks for shadows and highlights. 

This allowed me to darken a few areas, lighten specific areas, and then selectively saturate more specifics. Then I straightened the angles and removed a light pole that was in the shots and Voila!

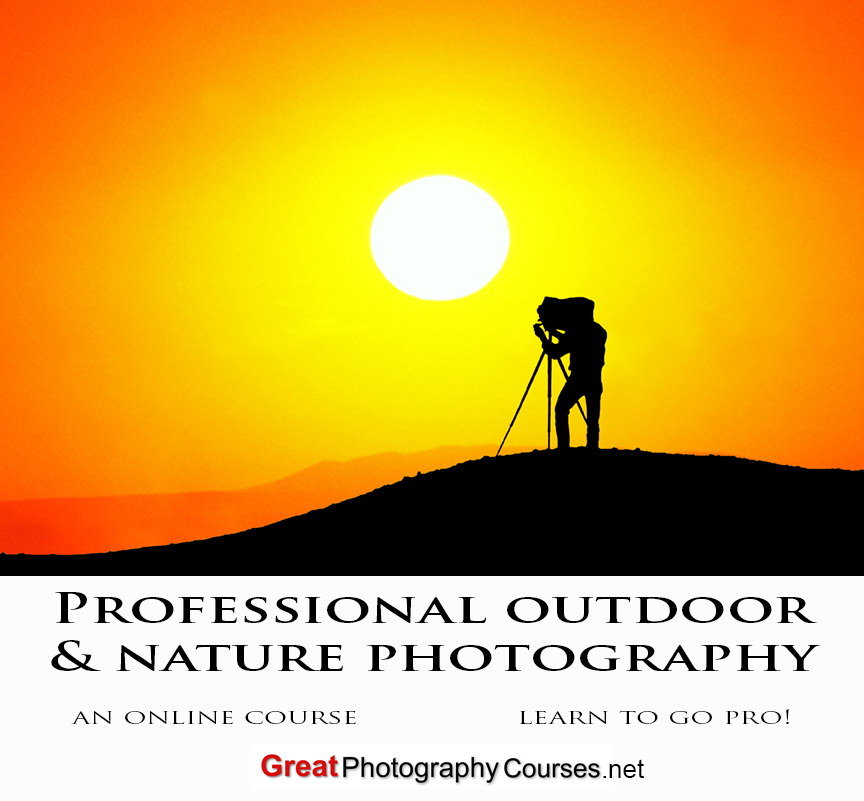
Hey, by the way, think about joining my mail list, getting my eBook, or signing up for an online course. All that info is on this page. 

All the best!

I am so excited! After months and months my new course is ready: How to Be a Professional Outdoor & Nature Photographer

This course covers what to shoot, where to shoot, how to market, how to organize your business, how to price and negotiate sales of your images, stock photo agents, photography assignments, and much, much more. 

biz nat bannerCheck it our here.

And it is on sale right now at $79, that’s $100 OFF. Use coupon code GO79

A month ago on the return trip from Canada’s NW Territories, I was zipping down the east side of Glacier NP in Montana when this event happened. The sun peeked out and I stopped, grabbed the camera and ran up a hill to get above the trees. It’s a hand-held and I started with HDR processing and applied that lightly and then did more exposure blending from the original RAW file.

The goal was to not have a sky that was over saturated and darker than the foreground or it would look unreal. I think I pushed right up to the fence so to speak as this has the look of a graduated ND filter.

mt_east_side_glacier_np_MG_6040_1_2_tonemapped


See the Photoshop layers below

I spent about 2 hours in Randsburg, CA two night ago photographing interesting ghost town type subjects. There is a lot of history here but much is ‘modernized’ since it is more of a living ghost town and unlike Bodie to the north, which is uninhabited for the most part.

This old sign really caught my eye with the warm setting sun light and I shot it with a 70D and 16-35mm lens. There was a long shadow from the left side to the right side, cast on the wall from the chain railing that was there and I retouched that out to make this image all about that cool old sign.

ca_randsburg_MG_6373_4_5_fused
Join my mail list with the sign up form on the right.

This is Romos Mexican Restaurant in Holbrook AZ on a chilly rainy night. I titled it Rainbow due to the obvious rainbow of color but that is not an official name. The rain ‘makes’ this image so colorful with the color reflections. I processed this with HDR software first and lightly to avoid the Grunge look and then blended back some parts with the original file. Shot with a 70D and 24-70 lens.

az_holbrook_MG_1546_47_48_49_50_tonemappedJoin my mail list on the right opt-in form.

Alpenglow? I have always wondered if alpenglow only happened in the mountains but according to Wikipedia the answer is NO. This was 20 minutes after sunset, the perfect time for alpenglow, and it added a warm ‘purply’ reddish tint to the files which were shot at daylight WB. Processing becomes a challenge in trying to replicate the true color as experienced but then does it matter? Probably more important than processing it perfectly, is avoiding processing it imperfectly where it looks overly processed. Canon 5D, 28-70mm @ 50mm.

az_page_the_fins_borland1108-9750

Join my mail list! The opt-in box is to the right side bar.

I was teaching at the Black Hills Photo Shootout a few years ago and had half a day to kill so I went on a marathon shooting visit to Badlands NP. I have been there many times and like many places you visit over the years, returning can be like you have never been there before with fresh eyes and new perspectives.

The light was not that great when I got there but I shot anyway and it was fall, so there was a tiny bit of color. I like the idea of B&W with some color remaining because it really emphasizes the color when you do this and directs the eye where you want it to go.

sd_badlands_np_hay_butte_ovrlk_borland1011_-2481


Here’s the Photoshop screen showing the B&W and a mask to brush back the color area which keeps the bush in its original color. I also added contrast with a Curves adjustment and also used High Pass Filter.