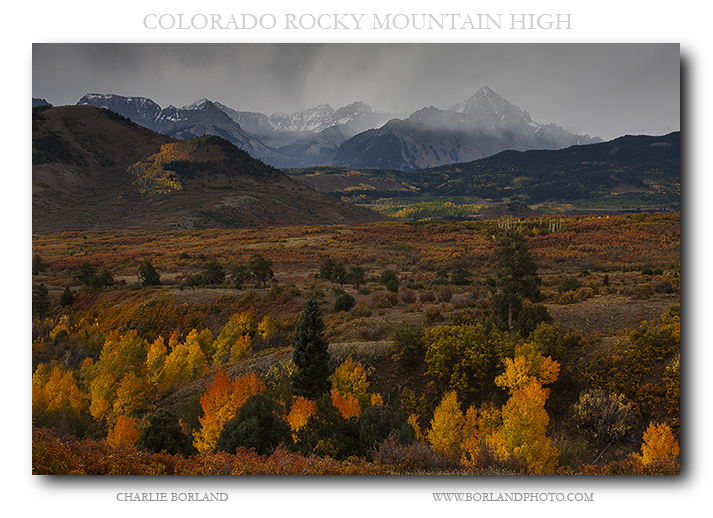
We all dissect photos! Each time we observe and analyze a photograph, we are mentally dissecting it into what we like and dislike about it. It’s a great way to learn from others and apply what we learn to our own work.
I shot this picture here on a 4×5 camera probably 25 years ago and I have not looked at in many years as it sits in my film files, which rarely get opened anymore.
It is enjoyable to sort through my massive film files and find images I have forgotten about and then, as teacher of photography these days, I dissect them into what works and does not work, and share that. I even try to see if I can remember what I was thinking when I captured the image.
I see a lot going on in this photo.
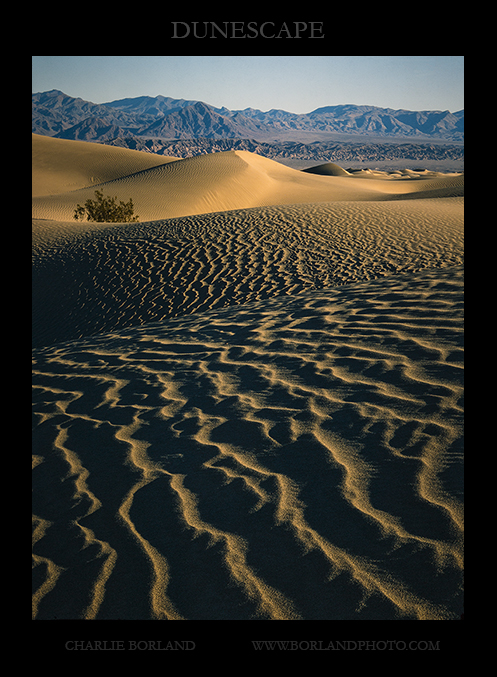
There is a term used a lot in photography these days called ‘lighting in layers‘ and it really has more to do with Photoshop compositing (at least to me) and I think I can look at this image and say the same thing.
When I was photographing this dune in Death Valley, I was very fortunate to be there after a storm which added ripples to the dunes but also erased footprints, which these days, are challenging to get away from.
To the right of the position seen here, was the top of the dune which curved to the right and downhill again. What I mean is that to the right, the dune was more evenly lit and the ripples of sand not so apparent.
By moving left or down slope, the light exaggerated the ripples more. Those ripples also point into the picture and that is a great example of leading lines, guiding the eye into the picture.
There is also a second layer of dunes beyond the foreground dunes and those are followed by the furthest dunes, which are lit with pretty even light due to the angle of the dunes.
All this, plus a little more, adds to an image that incorporates a lot of different elements. You have layers in the three sections of dunes that lead into the picture. Each section is lit differently, going from a dark foreground to the next section of dunes and finishing at the brightest section, which is where the eye finishes. Then there is the bush on the left, strategically positioned in the composition.
The result is an image that has various levels of brightness on each dune section along with leading lines and all this directs the eye to the brightest dune, and the visual destination.
As I mentioned previously, dissecting photographs is a great way to explore what works and does not work with an image and is a great aid when developing your own vision.
Take an online course at: www.greatphotographycourses.net
Get the book:

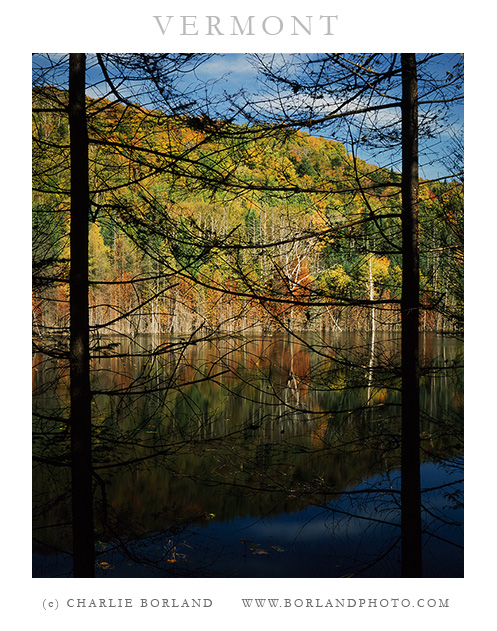 So after parking my car and walking through the forest to see this pond near Glover VT, I felt I had to find a different view.