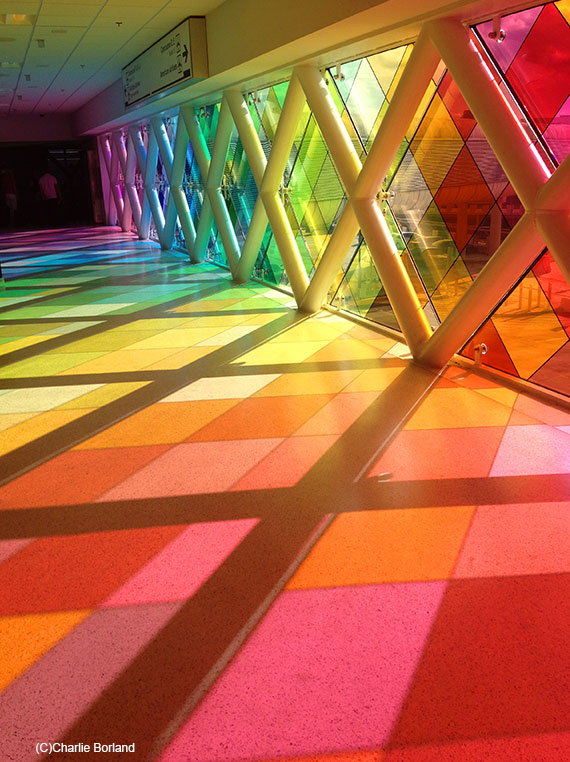
On a recent fishing trip to the Florida Keys, we hustled through Miami International Airport and I walked past this cool stained (colored) glass  and had to grab this shot.

Let’s face it, smart phone cameras are very cool and allow the opportunity to never miss a shot.

A lot of time there is only so much you can do in camera and that is basically capturing the data as it is presented. It’s when you get into post processing where the magic is and this image is one example.

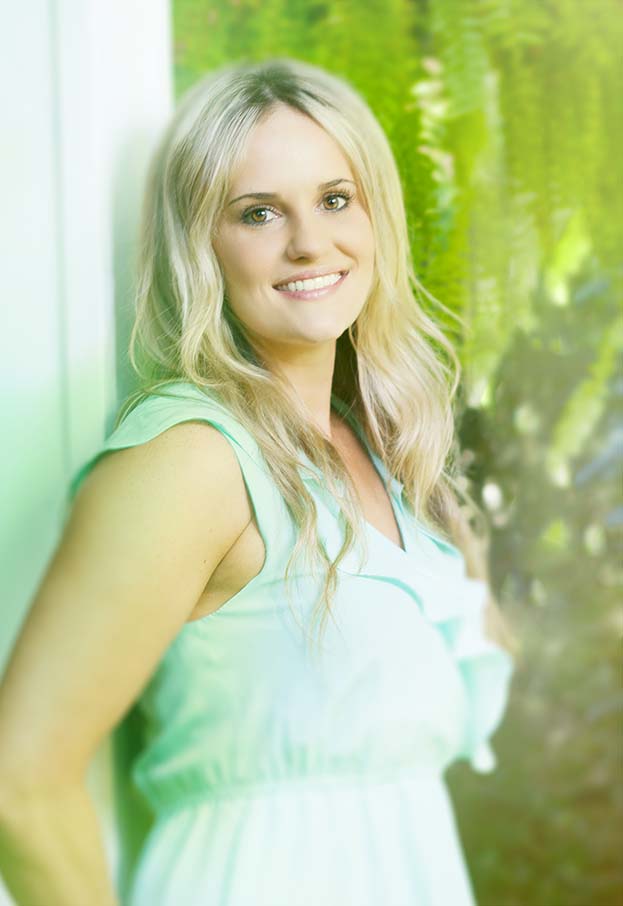
I photographed Kim and her family last week at their home. We shot in mid-afternoon and this made for lighting challenges. It was hot and humid and bright and sunny, so the light was far from perfect.

There are a million ways to make light work for you but it all depends on how much time you have. You can erect panels that block light from hitting your subject, or in the case of this shoot, work in the shade. Unfortunately there was only a little shade that time of day, so I made it work.

Copyright 2013 (c) Charlie Borland

What I like about post processing is that you can go anywhere and everywhere. Here I am experimenting with blended color overlays which sneaks in small amounts of yellow and green in specific spots. It looks sorta like cross processing of days past. More to come once these guys make their selection of images and I process them.

Learn portrait photography here.

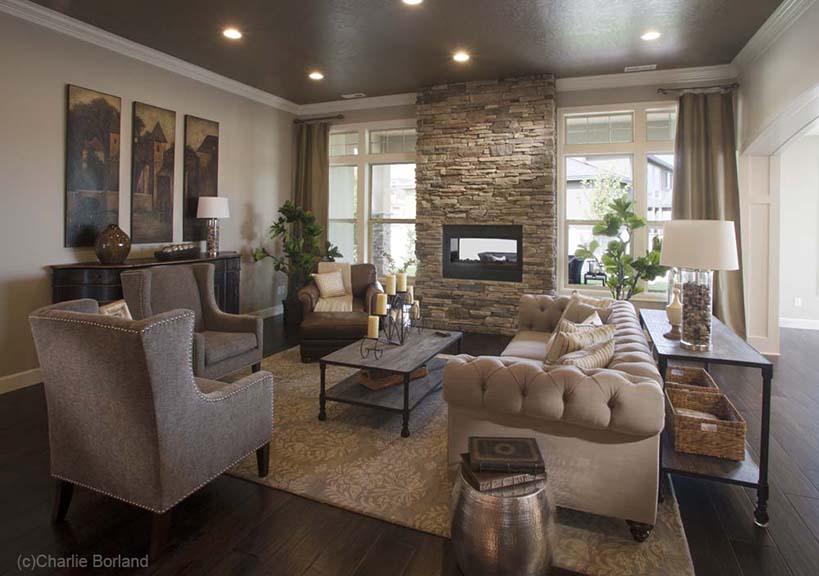
I recently had an architecture shoot in Washington State to shoot a beautiful custom home. Here is one image from the shoot. I was asked to get 10-12 scenes of the home, which is a lot but also pretty common these days.

I have determined the best way to do this is using selective lighting and Photoshop, which is lighting specific areas and then compositing a lot of images for the final result. This image had 20 layers.

Copyright (c) 2013 Charlie Borland

I teach these techniques in my class on Architecture photography here.

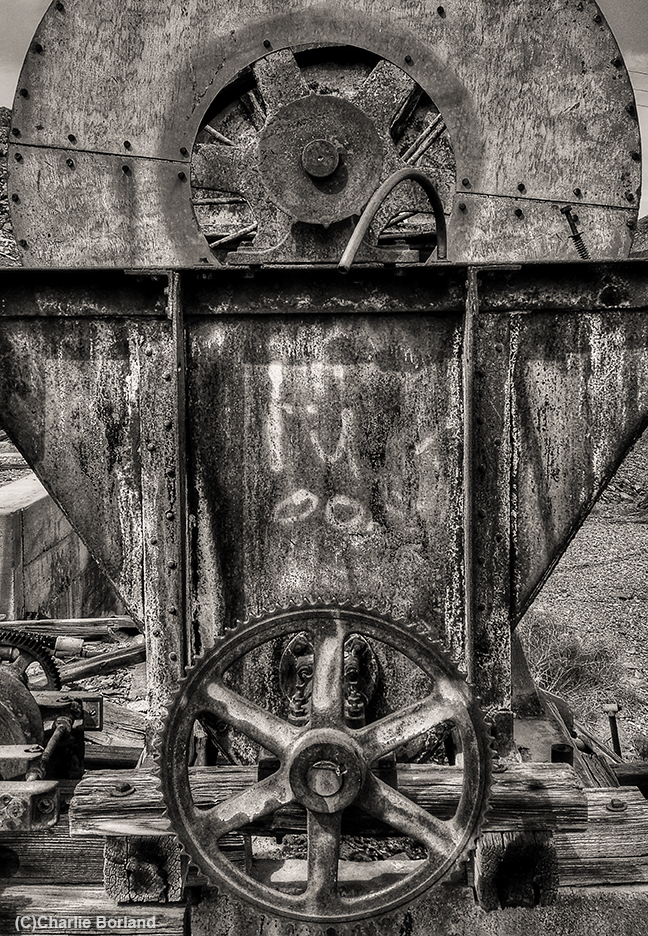
I have been experimenting when time allows with variations of B&W images. I like HDR although admit that the days of super grunge are over for me. All the color globs and noise….been there, processed that!

HDR has come a long way and now I use it more for creating natural looking images with lower contrast like some architectural assignments I get for time to time.

I have photographed some objects over time where i went crazy with grungy HDR but now I prefer to process more normal and then maybe with a hint of grunge…then converting to B&W.

Here is a piece of equipment at an old mine in Arizona that I processed in HDR and as color then converted to B&W and pushed around a few of the tones with a B&W Adjustment Layer. The HDR does a good job of adding edge to textures and then those are converted to tones in B&W. This next image

Recently, I wrote about stumbling upon the Lost Dutchman miner, of the legendary Lost Dutchman mine, while wandering the Arizona desert photographing and described how he posed for me in a photograph.

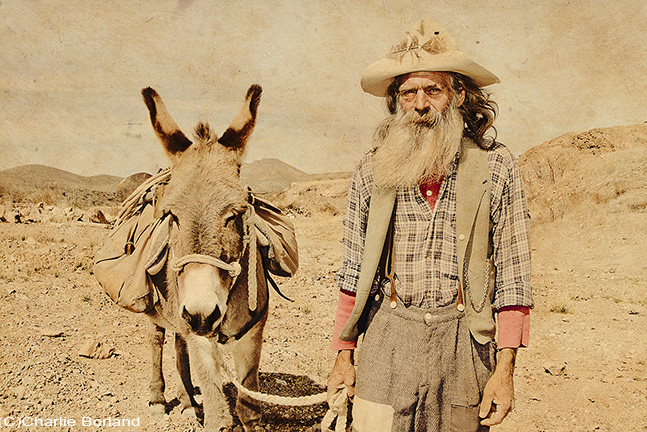
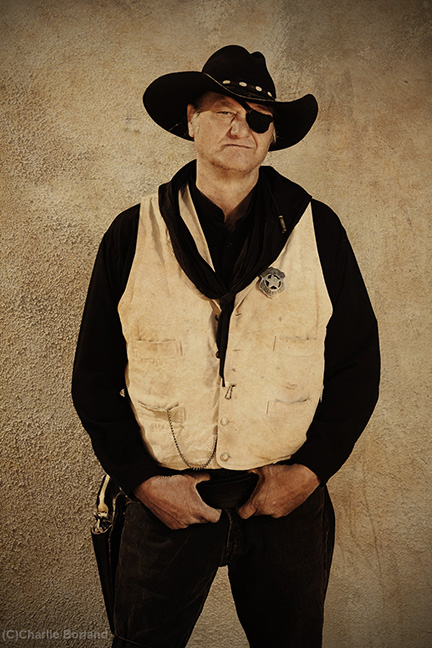
After that, I continued across Arizona and New Mexico searching for more great landscapes and flower displays when as luck would have it, I again stumbled on another well know western figure: U.S. Marshal Rooster Cogburn.

In case you don’t know who that is; he is the infamous Marshall who reportedly shot 64 bad guys. He is from Arkansas but his Marshall duties have taken him around the west hunting for the usual desperado’s.

His most well-known manhunt; was that of murderer Tom Chaney who had killed the father of Mattie Ross and was on the run. So Cogburn went after him hoping to capture and bring him back to Texas for trial.

As we drove from New Mexico into West Texas, we stopped in Sierra Blanca to gas-up and decided to get a drink. Having never been there, we found a small cantina and went on in. After 5 minutes I heard a loud ruckus and there was some fat old guy drunk at the bar.

After watching for a minute I realized who it was: Rooster Cogburn.  I could not believe it but told my wife let’s just watch. For an hour he was there bellowing and boasting before sitting at the table next to us.

To make a long story short, we struck up a conversation and I eventually asked him if I could photograph him on the side of the cantina building. He grinned and agreed, but pulled out his 6-gun and said if the pictures were bad he’d shoot me.

I promised they would be very flattering.

So we went out back and I set up two flash units with wireless triggers to add some light on him. I purposely chose the shaded side of the building and then the flash units to add light rather than fight the sun with fill flash.

He was swaying a bit so I used a shutter speed of 1/125th at f/5.6 and hoped there would be no blur. I thought the picture looked pretty good and mailed him one to some address in Mexico. Not sure if he got it.
Flash is such a great tool for all photographers, indoors and out. While most of the imagery I shoot using flash is fairly close to the camera, there is occasionally a subject much further from the camera and flash where the light from the flash just does not get there.

Flashes all have a set range where they can send enough light for proper exposure, but due to the inverse square law, that light reaches a distance where the light falls off. Think or throwing a ball! For a while the ball travels at speed for a certain distance before beginning to drop as that speed slows down.

Keeping all this in mind is important when photographing. Just how far can the subject be before the light won’t reach? It varies on many factors such as how powerful the flash is. The more powerful the further light goes. A Canon 580EXII has a greater range than the

You love photography and want to photograph full time by launching a photography business. Maybe you are unemployed or wish to supplement your retirement income or simply wanting to earn money doing what you love.

For those with jobs you may not want to quit the day job until your business is launched and earning you an income and enough income allowing you can quit that day job. Maybe you are unemployed and if so you can get started right away but be careful if your financial resources are limited.

So how do you get started? I have compiled these ideas into the 12 most important steps I believe are crucial to finding success as a professional photographer in today’s markets.

This past spring I was enjoying quite a bit of time wandering and photographing the Arizona deserts and mountains. While down in the desert I was stunned when I came across this old miner in the desert with his donkey.

We started talking and I asked what he was doing down here in the middle of nowhere. He told me he was the Lost Dutchman Miner of the infamous Lost Dutchman mine. He continued by telling me that he was truly lost in his attempt to relocate his mine.

I replied that he was a long way from the Superstition Mountains, where history suggests the mine is located. He did not comment obviously fearing if he said anything I might start searching for the mine myself. This got me thinking that the mine might not be in the Superstitions after all.

He asked if I had anything to eat as all he had to eat for sometime was beans and hardtack. I happened to be carrying in my camera bag a crab salad sandwich from Subway and one of my favorite beers: McTarnahan’s from Portland Brewing, and it was still ice cold.

I told him I would give him the sandwich and beer if he posed for a picture and so he did not move as I grabbed this shot. I did use flash fill because the sun was high noon and created the shadows in the eyes.

He scarfed down the sandwich and guzzled the beer (I don’t think he liked it. Never had a beer like that) then without saying a word, headed off into the sunset so to speak, in search of the Mother Lode. I grabbed my gear and went looking for the mine.

In Photoshop,

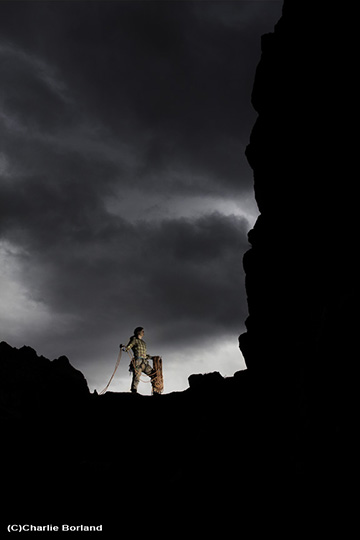
I love to tell stories with light and do it with stash-a-flash technique which includes hiding a flash in the scene so that it lights a part of the subject.

This image of a rock climber is in my new book: Outdoor Flash Photography and was taken right before a thunderstorm rolled in. You essentially hide the flash with a remote trigger and in a place that it lights your subject but nothing else.

I hid the flash to light the climber and it worked well but some light spilled elsewhere and I show in the book how to fix that as well as how to add light to other remote subjects when shooting outdoors or on an adventure.

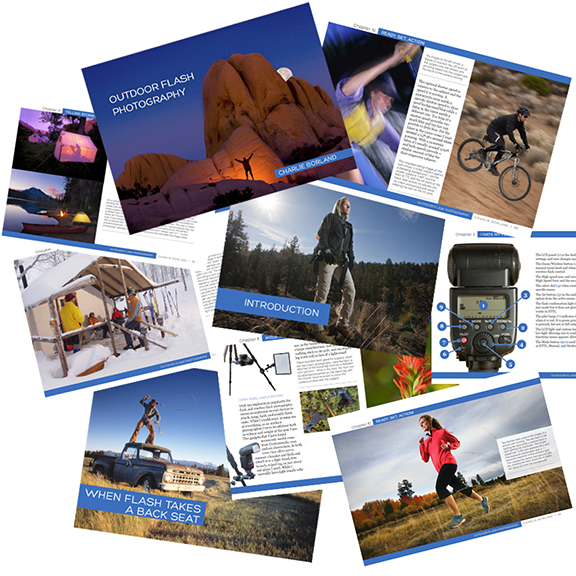
Finally….my new eBook: Outdoor Flash Photography is published and available.

If you have a flash and wonder how to use it, or you wish to learn how to apply light, this eBook covers it all.

You’ll learn:

  • The functions and features of the flash
  • How to see light
  • How to improve your flash photography
  • How to shoot action
  • How to tell stories with light…and much more!

Only $9.97

Click here to read more and order.