On one fall photography trip to New England, I had spent about 2 weeks in New Hampshire and Vermont, capturing an amazing array of rivers, mountains, waterfalls, country scenes, and ponds.

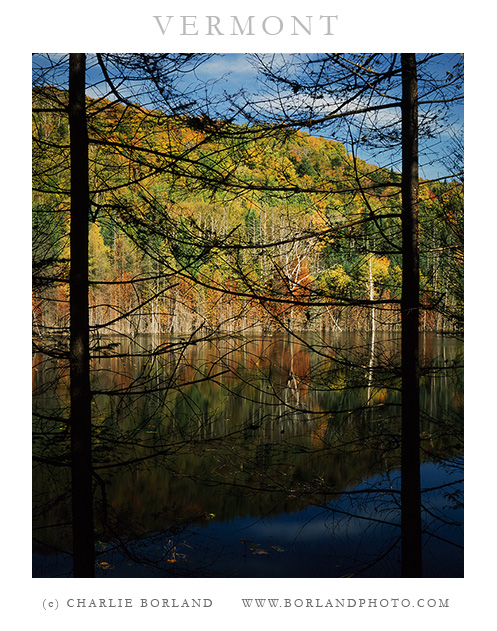
I had shot so many ponds and lakes with amazing color reflecting in the water that on the day I shot this, I felt I did not need another pond reflection.

vt_pond_near_glover_mg_9267So after parking my car and walking through the forest to see this pond near Glover VT, I felt I had to find a different view.

That need to for something different is what had me stop and look at this scene through the trees and branches. So I set up and framed the pond and reflection between the trees and this is the shot. The trees place visual boundaries on the sides and that helps keep the eye centered on the background, through the branches.

I must have had a decent idea as this was published once in a Vermont book.

See more of my photography, ebook, and online classes on the right of this page.

Related posts: Window to the World, I love photographing in Crappy Weather


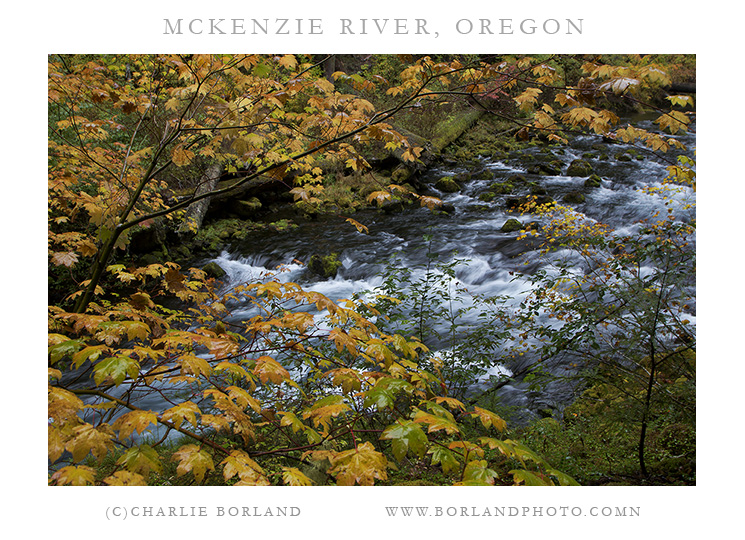
Oregon’s McKenzie River flows down the western slope of the Cascade Mountains, heading towards Eugene.

It is a designated Wild and Scenic river that flows through old growth forests, is lined with a series of incredible waterfalls, and is a popular area for kayakers, hikers, and rafters…

…and photographers. Anytime of the year is amazing to photograph along the river but fall is special. The river is lined with a variety of maple trees, river rapids, small cascades, and in the deeper pools of water, the color is a tropical blue.

or_mckenzie_rvr_0270

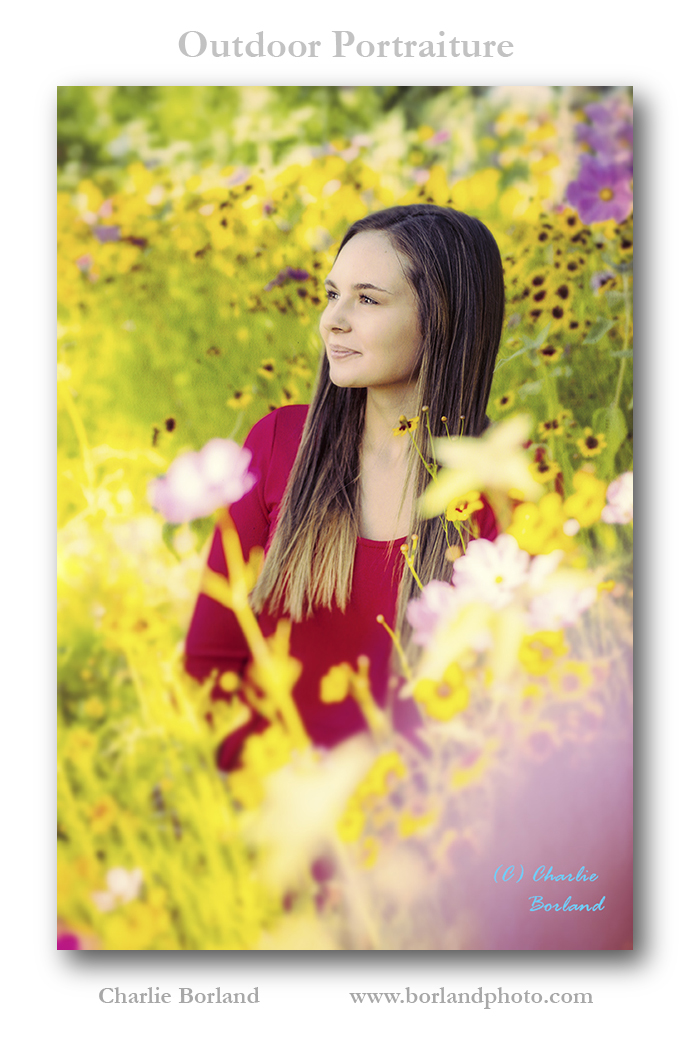
10 days ago or so, I taught outdoor portrait lighting techniques at the Cascade Center of Photography in Bend, Oregon. I demonstrated multiple techniques including reflectors, diffusion panels, and wireless flash.

justine_mcclay_mg_0105_pp2locpy

We went to a location where there was a field of wildflowers that we could use as a background, or in this case, our entire scene. Our model here is Justine and she was gracious enough to kneel in the flowers on a small trail that goes through the field.

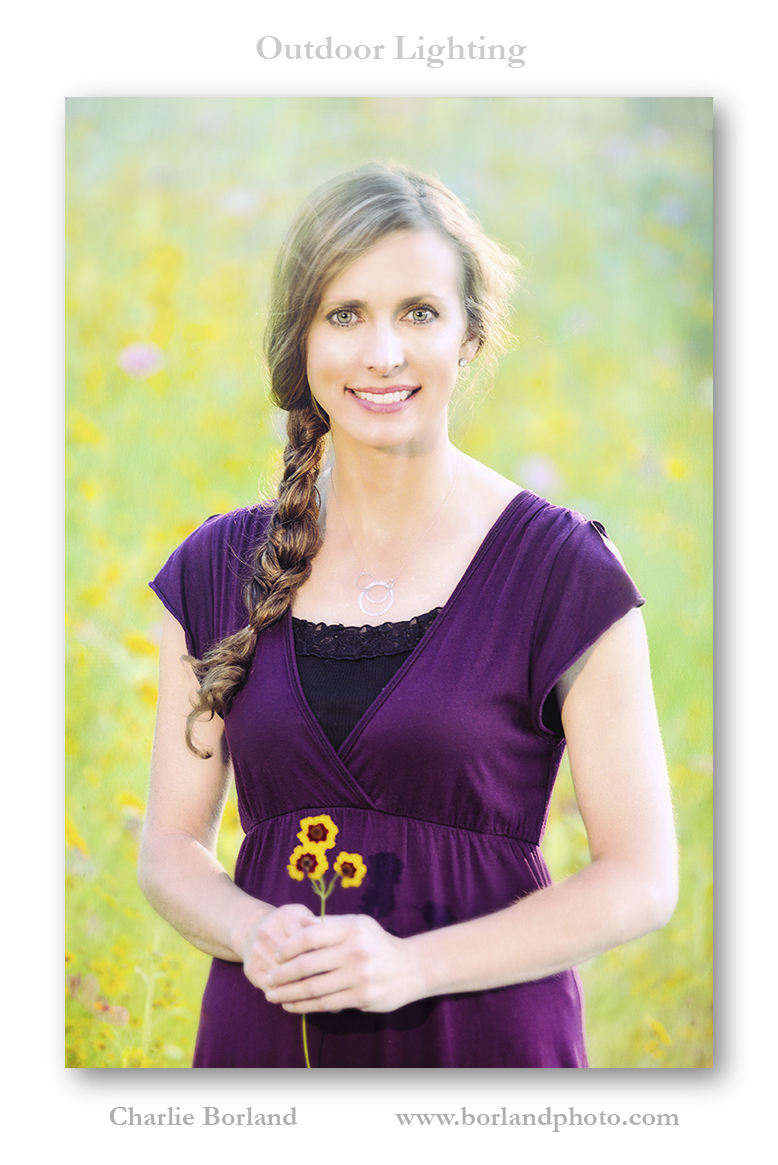
This portrait was taken last week during my Outdoor Lighting Portrait workshop at the Cascade Center of Photography. We chose to shoot at a field of wildflowers for this colorful background. The model is Kim and the purpose of this portrait example for the students was to shoot after sunset and then light the model with flash.

kim_cooney_mg_0185_pp2lo

The reason to wait for the sun to set is to reduce lighting contrast substantially, then reintroduce light by adding flash to increase lighting contrast-but contrast that I am now in control of.

We all dissect photos! Each time we observe and analyze a photograph, we are mentally dissecting it into what we like and dislike about it. It’s a great way to learn from others and apply what we learn to our own work.

I shot this picture here on a 4×5 camera probably 25 years ago and I have not looked at in many years as it sits in my film files, which rarely get opened anymore.

It is enjoyable to sort through my massive film files and find images I have forgotten about and then, as  teacher of photography these days, I dissect them into what works and does not work, and share that. I even try to see if I can remember what I was thinking when I captured the image.

I see a lot going on in this photo.
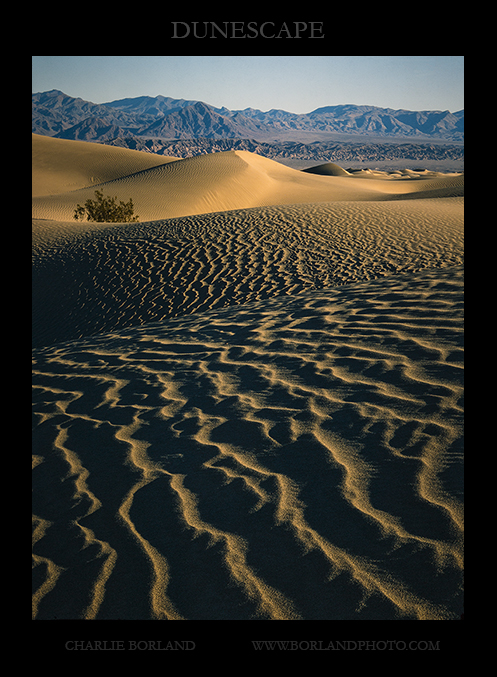
ca_death_valley_dunes_MG_8675

There is a term used a lot in photography these days called ‘lighting in layers‘ and it really has more to do with Photoshop compositing (at least to me) and I think I can look at this image and say the same thing.

When I was photographing this dune in Death Valley, I was very fortunate to be there after a storm which added ripples to the dunes but also erased footprints, which these days, are challenging to get away from.

To the right of the position seen here, was the top of the dune which curved to the right and downhill again. What I mean is that to the right, the dune was more evenly lit and the ripples of sand not so apparent.

By moving left or down slope, the light exaggerated the ripples more. Those ripples also point into the picture and that is a great example of leading lines, guiding the eye into the picture.

There is also a second layer of dunes beyond the foreground dunes and those are followed by the furthest dunes, which are lit with pretty even light due to the angle of the dunes.

All this, plus a little more, adds to an image that incorporates a lot of different elements. You have layers in the three sections of dunes that lead into the picture. Each section is lit differently, going from a dark foreground to the next section of dunes and finishing at the brightest section, which is where the eye finishes. Then there is the bush on the left, strategically positioned in the composition.

The result is an image that has various levels of brightness on each dune section along with leading lines and all this directs the eye to the brightest dune, and the visual destination.

As I mentioned previously, dissecting photographs is a great way to explore what works and does not work with an image and is a great aid when developing your own vision.

Take an online course at: www.greatphotographycourses.net

Get the book:
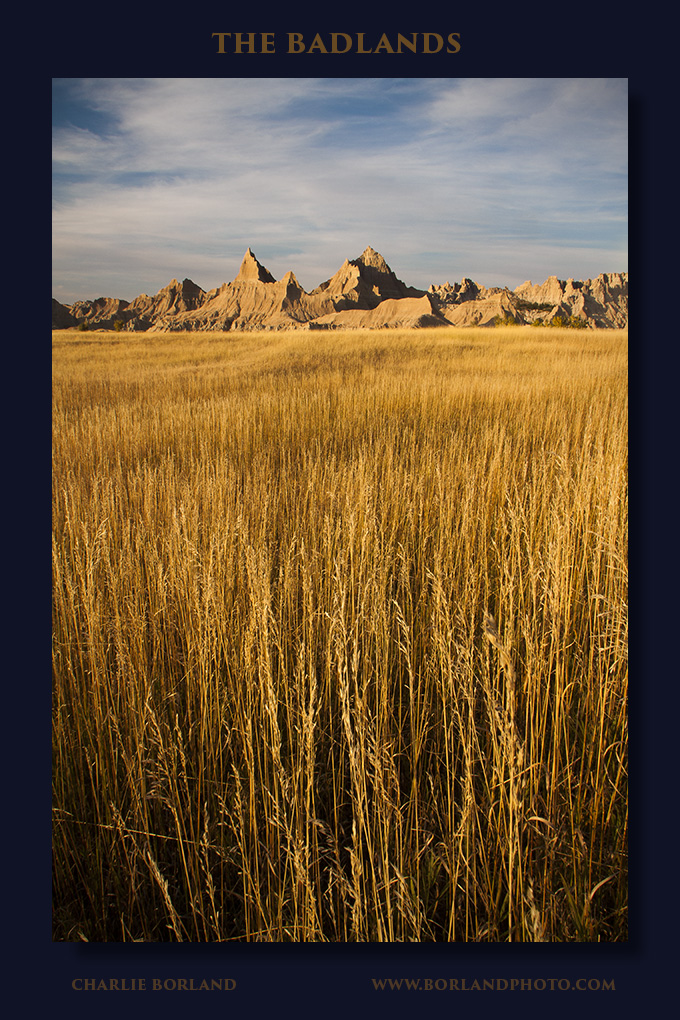
Several years ago I was teaching at the Black Hills Photo Shootout in South Dakota and when the event wrapped up I headed off to Badlands NP.

I had a half day to shoot there before returning to Rapid City for an early morning flight and I arrived in the early afternoon.

I drove the loop road heading west and stopped at each point to see what could be captured. It was unfortunately a perfectly clear day and I adapted the the harsh sunlight and did pretty well.

sd_badlands_np_the_castle_borland1011_-2719vign

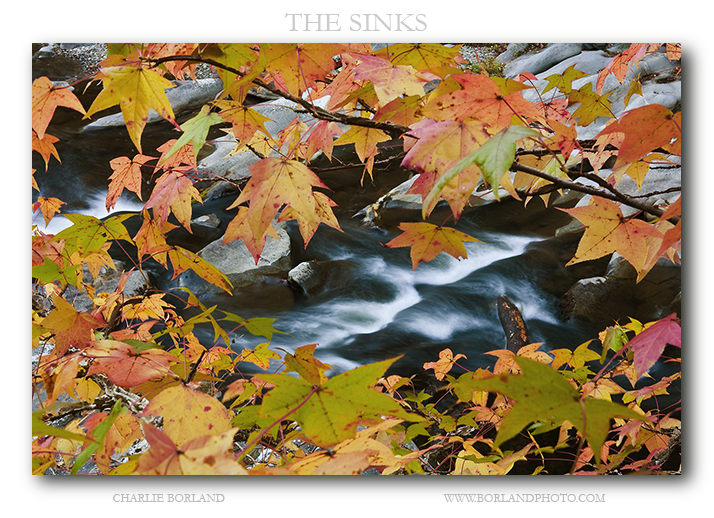
I have a lot of fall color photography from the last 35 years. Great groups of aspens on a mountainside, full frame images of hillsides in New Hampshire’s White Mountains, aspen lined canyons in the Oregon desert, and much more from many places.

On my last trip to the Great Smoky Mountains teaching a photography workshop with my friend Lewis Kemper during fall color, it was a warm, wet fall and the big landscapes weren’t that great.

nc_great_smoky_mtns_sinks_001

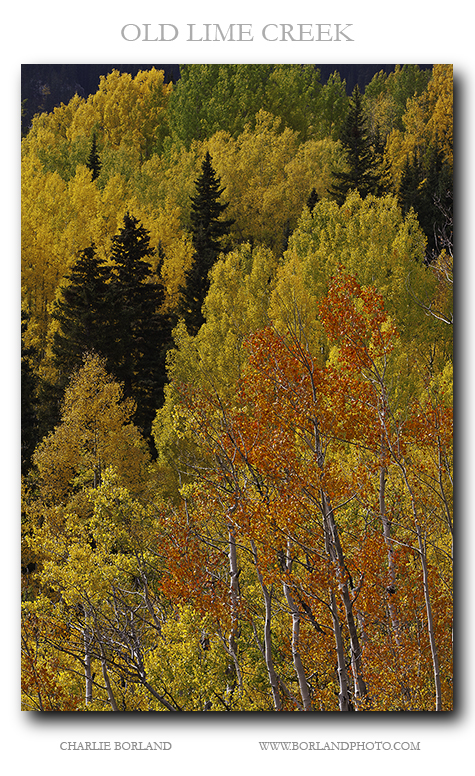
Take a look at this photo. Imagine for a moment, that it is all yellow aspens from foreground to background. In this bright, sunny, flat light, there would be little scene depth in the photo.

Scene depth are elements in a photo that give a sense of depth or distance from foreground to background and is achieved in several ways. Lighting is one and can emphasize scene depth, especially when you have varied brightness levels in the scene like a darker foreground and brighter background.

Size relationship is another way to give a sense of depth to the scene. This is usually a subject or subjects that have varying sizes and can be something like a large rock or clump of flowers in the foreground looming large, while the background appears distant.

The San Juan Mountains are a rugged mountain range in the Rocky Mountains in southwestern Colorado. The area is highly mineralized (the Colorado Mineral Belt) and figured in the gold and silver mining industry of early Colorado. Major towns, all old mining camps, include Creede, Lake City, Silverton, Ouray, and Telluride. Large scale mining is now uneconomical in the region, although independent prospectors still work claims throughout the range. The last large scale holdouts were the Standard Metals operation on Red Mountain Pass which operated until late in the 20th century and the ill-fated Summitville mine on the eastern slope of the San Juans.

Then in situations like this image, where the brightness level is pretty equal throughout the image, you dont get much of a sense of scene depth. So instead, I used color stacking of different colors to to give a sense of depth to the image.

There really was not much else to add unless I want to burn and dodge and simulate varied tonal values, but it might look to fake. So I opted for a different approach.

In Photoshop, I selected the orange/red values and then added that selection to a Hue/Sat adjustment layer, and darkened the oranges and reds. Then I did the same for the greens while leaving yellows alone.

In a way you could look at this approach similar to burning and dodging because I adjusted selected tones to changed the contrast, all with the goal of creating scene depth.

Follow me here and check out my ebook, online courses, and even a FREE course at www.greatphotographycourses.net

Get the book:
 

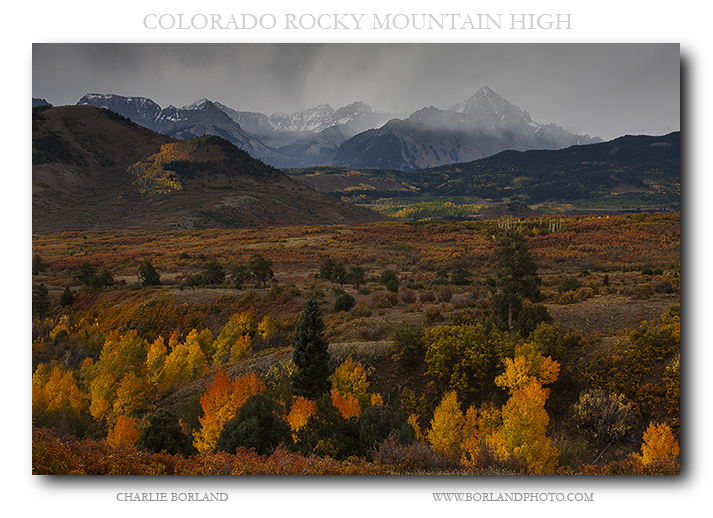
I have been here to this overlook at Dallas Divide in Colorado many times and it is amazing….and usually crowded in fall.

During my visits the weather has been ‘perfect’ and other times sunny. What I mean is that one time the sky was so clear, it was hot, and it just was not that great compared to this visit when a storm was passing through and even leaving a dusting of snow on the mountains.

I love photographing in crappy weather! Some of my best or maybe favorite images happened when the weather sucked.

When it is overcast or even raining, specular highlights created by the sun give way to diffused highlights from the overcast. Scene contrast is lowered and colors become more vibrant.

Dallas Divide (el. 8,970 feet is a high mountain pass in Colorado located on State Highway 62 about 12 miles west of the town of Ridgway. The pass is a saddle between the San Juan Mountains to the south and the Uncompahgre Plateau to the north and divides the Uncompahgre River watershed from the San Miguel River watershed and Ouray County from San Miguel County. The pass takes its name from Dallas Creek which drains the basin on the north side of Mount Sneffels into the Uncompahgre River. The pass overlooks the Sneffels Range. A toll road was first constructed over Dallas Divide in 1880 linking the town of Dallas near Ridgway with Telluride. In 1890 the Rio Grande Southern Railroad was built over the divide from Ridgway to Telluride.

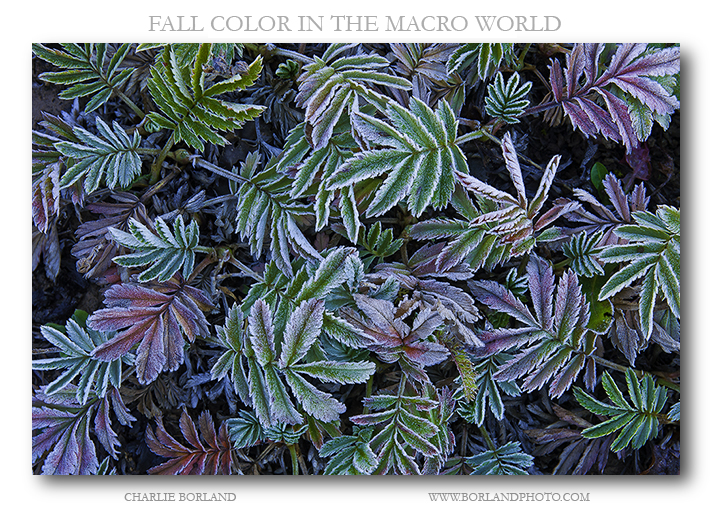
Photographing this image made me realize that fall color that we all love and cherish photographing, is not all about trees.

While I was photographing the amazing aspens in Colorado, I found amazing color closer to the ground.

These plant species, as best as I recall, were not more than 5-6″ across from left side the right side and literally were ground cover.

I dont know what they are but it look to me that they were having their own fall color transformation. The icing on the cake so to speak, literally, is that light coating of frost that added the edges and some white sparkles to the leaves.

co_sanjuanmtns_mineral_cr-8647